Top Projects In Finish And Trim Woodworking

When it comes to finish woodworking, there's a good chance your first project will be one of the following: window casing, door casing, or baseboards and molding. Trim woodworking is a great introduction for hobbyist woodworkers looking to get started with the art.

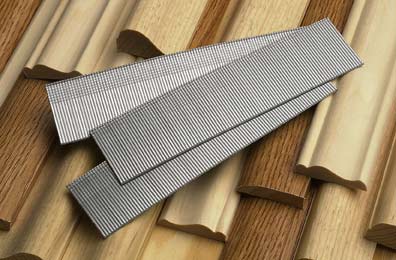
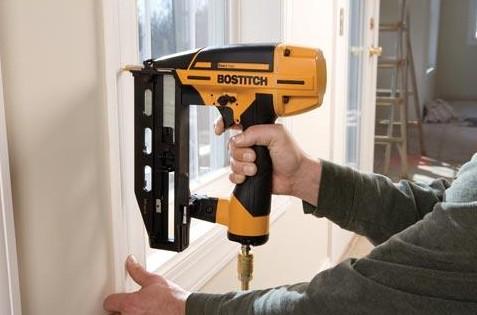
Before you take the first cut, make sure you have the right tools at your disposal. For each of the trim woodworking applications listed above, a 16-gauge finish nailer will most likely be your best nail gun for the job - especially if working with thick, heavy pieces of wood casing and trim. An 18-gauge brad nailer can also be suitable if working with thin or lightweight pieces of wood trim, but keep in mind it won't offer as much overall holding strength. When in doubt, consider the density of the wood trim you are using. You can also see a more in depth explanation about the difference between finish and brad nails here.
Other items you may need include a miter saw and blades, as well as other basic carpentry tools such as a tape measure, sharp pencil, wood file, wood putty, combination square, safety glasses and other miscellaneous essentials. Typically, you want to make sure the saw blade has at least 40 teeth, as more teeth offer a crisper cut. Of course, don't forget you'll need nail gun nails too.

EXPERT TIP: Don't just measure before you cut. It's often better to hold a piece of trim directly to the location it is being installed, versus relying strictly on numerical measurement. While holding the trim in place, take a pencil and mark where you need to make your cut.
Door & Window Casing
When it comes to trimming a door or window, the process is relatively similar. For door casing, fit one side casing, then install the top and second side. Make sure you match your pieces of wood, to ensure grain pattern is similar at the joints. Never get careless with the corners, you'll need all sides to fit together nicely for a clean finish. It's recommended that you pencil light lines, also known as reveal lines, from the edge of the jamb to align the casing.

Installing window trim follows closely to door casing; mark reveal lines, check corners with test scraps, and transfer reveal lines for cutting and nailing. If installing window trim "picture frame" style, be sure to start at the top, and work your way to the bottom.
EXPERT TIP: Avoid exposing end grain, as it stains differently than flat wood grain. Always cut a return for your molding, even if it ends abruptly.
Baseboards & Molding
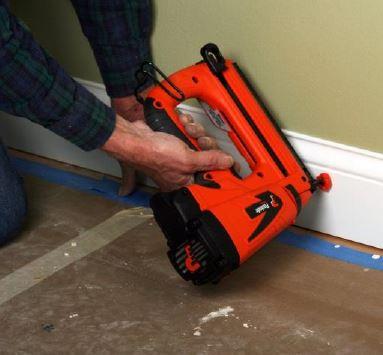
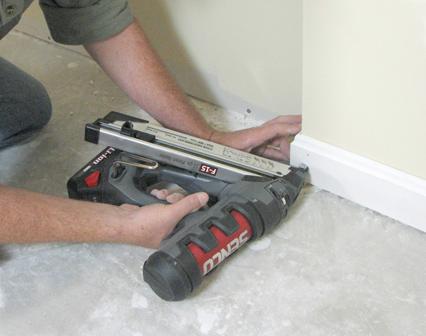
Among other popular projects in finish woodworking, installing baseboards or molding doesn't have to be hard - if the proper steps are taken. For baseboards, locate the studs - then lightly mark or use painter's tape to note where to attach. You'll install the large base first, butt to butt, then nail the cap and shoe into place separately. The base cap will install the same as the large base, except in the corners where the outside must be mitered, and coping is required on the inside due to the cap's curved profile. The base shoe conceals small gaps between hardwood flooring and the baseboard, and is installed last. For the shoe, you'll do the same mitering and coping for corners. Be sure to nail the base shoe into the baseboard directly, not the floor, to prevent pulling away when the flooring expands and contracts.

EXPERT TIP: Don't be picky when you don't have to. If you know your baseboard, cap or shoe will be covering a surface, you don't have to worry about spaces or blemishes - since they won't be visible anyway.
For a full background on each of these finish and trim projects, check out The Family Handyman magazine.
~ The Nail Gun Depot Team


