How To Build & Upholster Your Own Salvage Pallet Ottoman

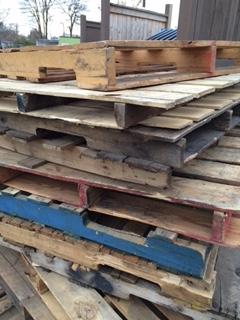
- A chemical free pallet
- 1" x 4" pieces of pine or other wood to frame the bottom of the pallet
- 1- 1/2" long wood screws
- 2 yards of scrap fabric (burlap) to cover all but the bottom of the pallet
- A piece of 2" foam (two pieces can be glued together to create a large enough piece)
- Batting
- 2+ yards of fabulous fabric
- Spray adhesive for foam
- Furniture legs and hardware
- A black marker
Tools:
- Drill and drill bits
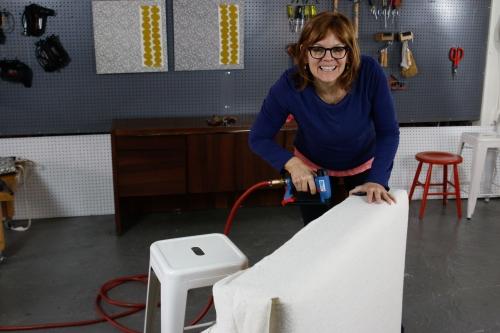
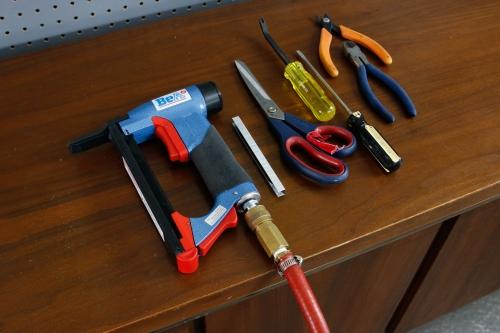
- Upholstery staple gun (mine is pneumatic, but electric will work)
- Scissors
- Electric knife (to cut foam)
- Glue gun (optional)
1. Measure and cut your wood pieces to fit the uneven bottom edge of the pallet
2. Drill holes and secure the wood planks with screws so that they don't interfere with the placement of the corner leg plates
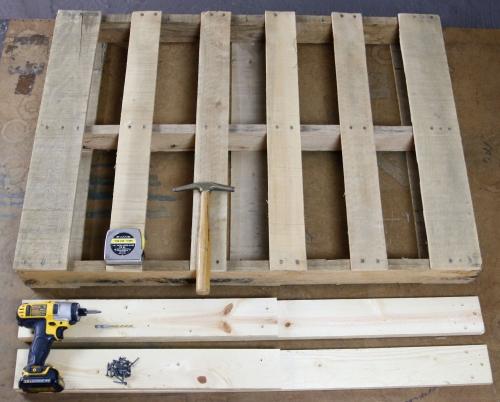
3. Measure and drill holes for leg hardware. You may want the leg hardware to be attached so that you know how far the fabric can come under the frame.
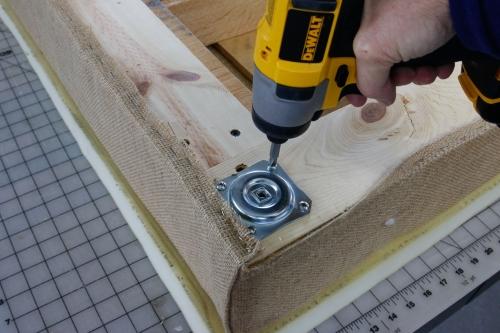
4. Flip frame over and wrap up the top and all sides like you're wrapping a present using burlap or scrap fabric
*** The standard upholsterer's method to cover a square or rectangular frame is to secure the fabric with staples in the center of one side, move to the opposite side, then the two adjacent sides. You always start in the center and move out towards the corners, pulling and smoothing diagonally towards the corners, but leaving approximately 5-6" open at the corners for folding and fine tuning. This works for dining chair seats and all angular pieces.
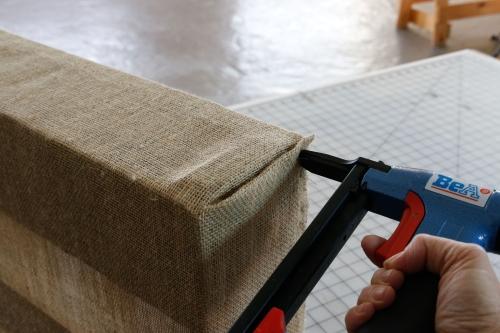
5. Place covered frame on top of 2" foam, making sure there's at least 1/2" over hang on all sides. Trace around frame with a big black marker.
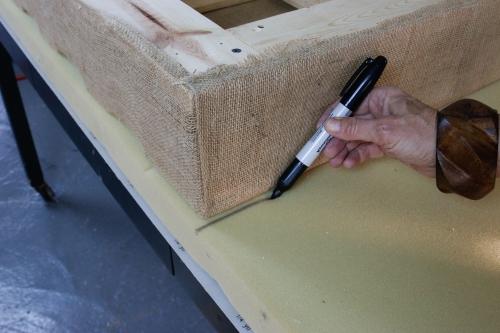
6. Keeping electric knife blade perpendicular to the foam, cut foam as traced
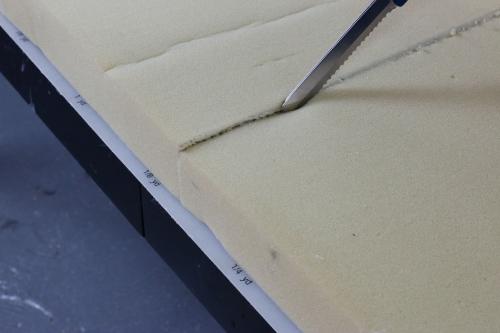
7. Use spray adhesive to secure the foam to the burlap base
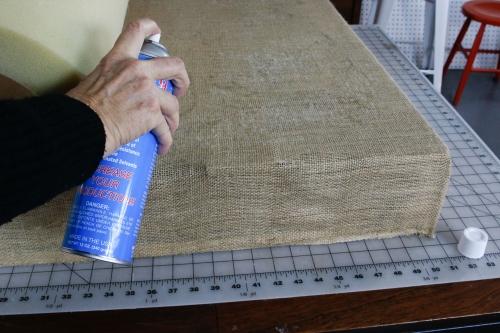
8. Measure and cut batting to fit over the foam and wood frame
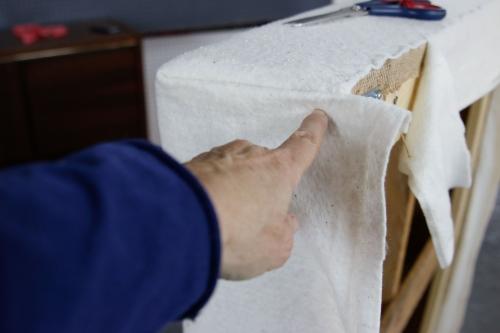
10. Corners are crucial to make this ottoman look professional. Make neat, tidy, hospital corners that are smooth, unpuckered and clean. This is the same technique as you'll use with your top fabric. Make it look professional!
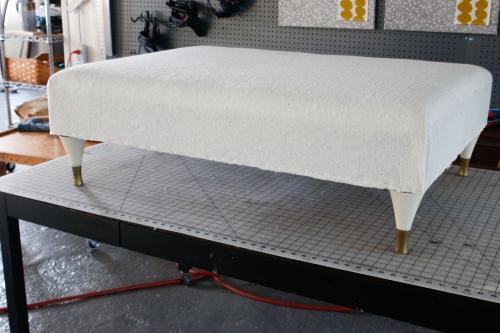
11. Trim off excess batting.
12. Cut your fabric so that you'll have at least 3" of excess fabric on each side. This is known as "pull" - and you'll need it.
13. Place fabric on top. Align any pattern, make sure everything is straight and start with the center of one side. Pull fabric under and attach just like you did the batting, only pull the fabric under the frame bottom. It's front to back, side to side, and move out towards the corners.
*** The technique of pulling and smoothing at a diagonal and out towards the corners is what shows you know what you're doing. You want a smooth, even, slightly rounded top edge.
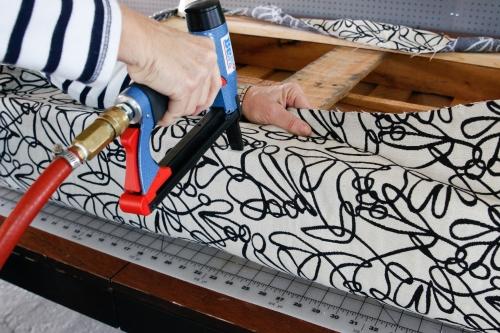
14. Now make those corners look good by making that square corner as in the picture. Your hands are your best tool and sometime you'll need to get the frame on the floor and really be able to control the fabric.
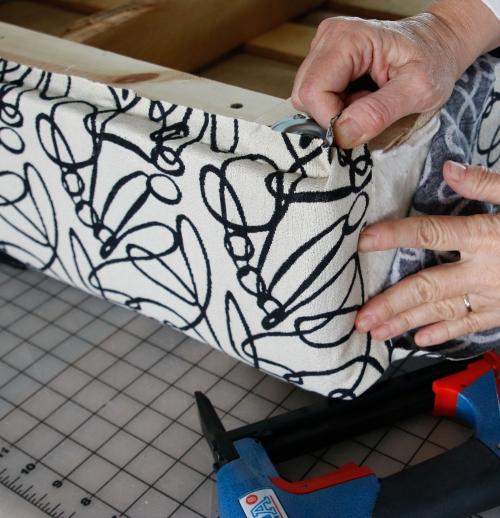
15. When the corner is just right, secure it with your stapler on the bottom of the frame.
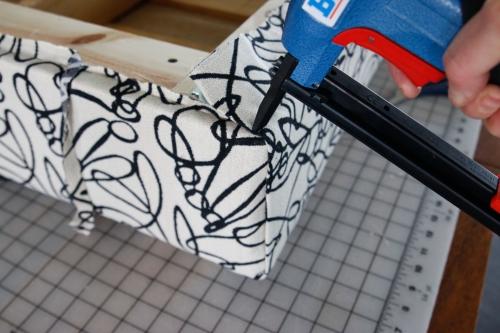
16. Trim off excess fabric, close around leg plates, attach legs.
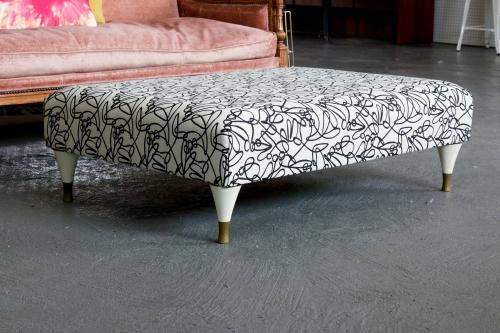
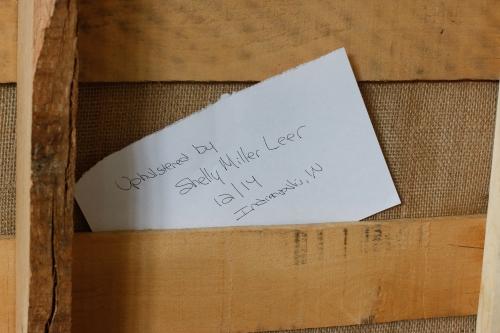
17. (Optional) Create and insert a time capsule and cover the bottom of the ottoman with a piece of scrap fabric as a dust cover by folding the edges under 1/2" and stapling in place every 3" around the bottom, folding back at the legs.
