How To Build A Raised Garden Bed

An increasing demand for sustainable living has led many people - both rural and urban - to grow their own food. The perfect place to manage and monitor the growth of your food source, especially in urban areas, consider building a raised garden bed to harvest mini-crops. Once built, these sustainable planters will continue to provide a renewable food supply - year after year.
Building one or two of these large planters is easier than you might think - it only requires a few hours, a nailer or screw gun, fasteners, a power saw, and lumber. Once built, you will want to fill each "box" with a soil and compost mixture, creating a nutrient rich fertilizer that can boost and sustain the growth of your garden. The purpose of these beds is to raise the soil up, creating a built in drainage system and reducing the amount of space needed between plants - helping to crowd out weeds.
To get started, dig a trench around the space you want to install your raised garden bed(s). The trench should outline the shape of the garden bed, typically designed in a rectangular formation. The size of a raised garden bed can vary, with small ones that are 3' by 6' - ranging to larger ones that can double in size. Typically, these beds should be 1' to 2' high, as it might be hard to produce enough "fill-dirt" if the bed is much deeper. While there is not a "correct" size, you want each garden bed to be small enough that you can reach the center when planting, watering and harvesting.
Once a trench has been dug out, begin laying your lumber to create a frame that fits into the trench that was formed. Note that if you are using a pressure treated wood (or any lumber that has been exposed to chemicals), you will want to insert a layer of landscape fabric into the bed of the planter to protect against any chemical seepage. Be sure to also use only galvanized or stainless steel nails or screws, to reduce/eliminate rust corrosion.
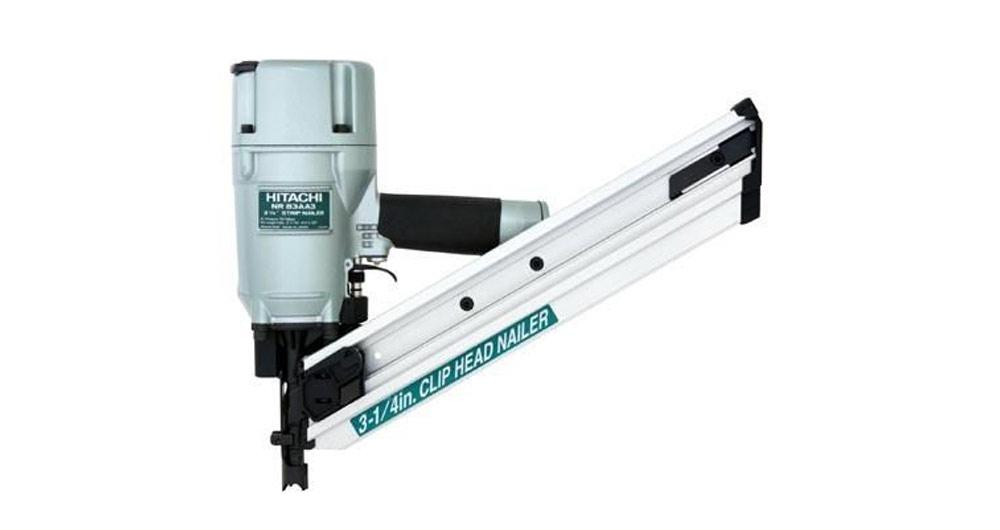
Build each wall of your raised garden bed separately, then attach them together at the end of the project. You will want to use either a framing nailer or a collated screw gun. Once the walls are in place, you will want to also install a ledge along the frame of the bed, to rest on and/or lay gardening tools.
Now that your garden bed frame has been built, you can elect to install an irrigation system or greenhouse cover, depending on the budget for your project and the vegetation you are looking to grow. Build your raised garden bed to accommodate the crops you are intending to plant. Tropical plants will require a greenhouse-like environment (including heat in the winter), whereas tomatoes only require sunlight and water from late-spring to early-fall.
NOTE: If you plan to keep any plant alive during the winter, you will need to protect them from the outside elements of colder climate areas.
After adding your fertilizer mixture and planting your crop, be sure to protect your garden from predators such as deer and other wildlife that will eat your plants. Install a tall wire or chain fence around the garden bed(s) to prevent deer and other wildlife from feeding on your veggies. If budget allows, build an open, small-framed structure around your beds to protect them from animals - without blocking sun and rain from reaching them. You might find a Hog Ring Tool beneficial for fastening the wire.
All that's left to do is tend to your crops and enjoy the sustainable foods that you grew in your backyard.
~ The Nail Gun Depot Team


