Four Tips On How To Build A Fence

An old saying goes, “Good fences make good neighbors.” But good fences also provide improved security, privacy, and added value to your property. Fence building is time-consuming and costly, which is all the more reason for the end result to be durable and long-lasting. After all, a well-built fence can last 20+ years with proper maintenance.
Before getting started, consider four important fence building factors: planning, designing, material selection, and assembly, detailed below. Then, follow our fence building steps to ensure yours is a successful project.

Make a Plan Beforehand
Familiarize yourself with local building code, ordinances, and HOA policie, before purchasing materials or hiring a fencing contractor. Be sure your plans also account for any underground utilities or invisible fences, to prevent damage and costly repairs to these fixtures. Have your property line surveyed, to make sure your fence is indeed YOUR fence. The planning phase typically goes tandem with design, as in many ways, each step relies on the other.
Have a Design in Mind
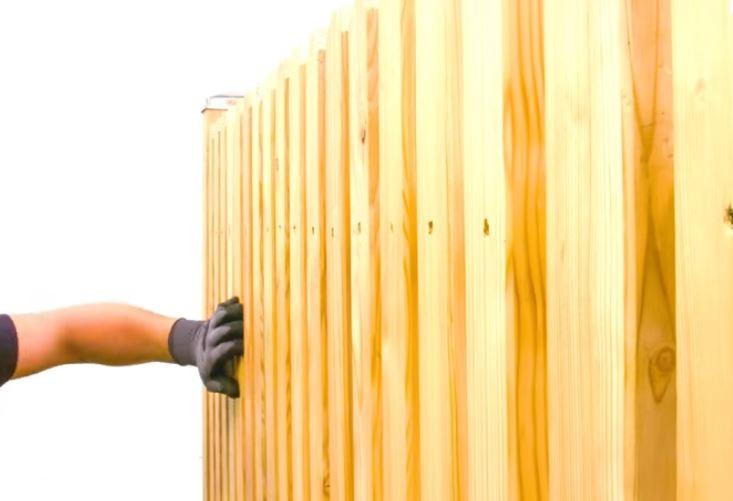
Technically part of the planning phase, designing a fence can be stressful if you don't know what type of fencing you want. Consider your original intent for installing a fence. Is it for privacy, to confine a pet, or some other reason? A privacy fence is typically at least six feet tall, with minimal spacing between boards. Privacy fences can also serve as good pet fences, but may be more than you technically need—depending on the size of your pet. On the other hand, farming and livestock fences are completely different in form and function, but serve an important purpose too. Whatever the intended function of your fence, always design for the terrain you'll be building it on.
Select Your Materials
When it comes to material selection, we don't recommend cutting corners to save cost. Fencing is expensive enough to install on its own—you don't want to do it twice. For wood, use a species of treated lumber that ages well in your region. For wire fencing, make sure the metal is galvanized or coated to prevent rust and corrosion.
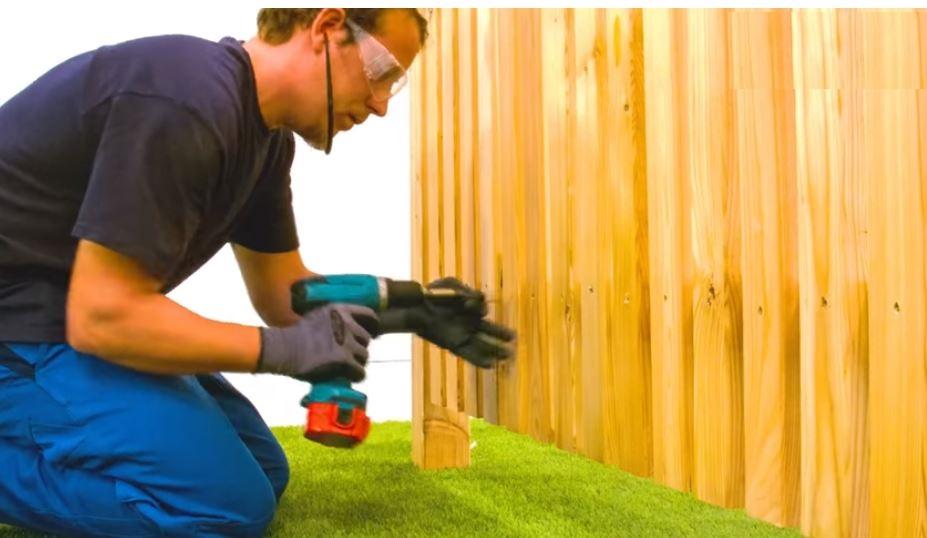
The same rules apply for fencing fasteners, regardless of whether nails, screws or staples. For attaching wire fencing to wood, we recommend one of the Fasco fence stapling guns. For traditional wood or composite fence boards, Scrails, offer the versatility of a framing nail, but with the added holding strength of a screw. In damp or coastal regions, you may even opt for stainless steel fasteners, to further guarantee corrosion prevention.

Building A Fence, Step By Step
The big day is here, and it's finally time to build. Fence building is typically divided into three or four steps, depending on the type of fence. For this article, we'll primarily focus on the three main steps to build the fence's framework.
Step 1: First, mark the location for each fence post. The general rule is to space your fence posts between six and eight feet, but different terrain or design parameters may dictate differently. Always start with your corner(s), or end post.
Step 2. Once the area has been marked, the posts are ready to be set. Keep in mind, setting each fence post (especially corner-, end- and load-bearing posts) involves burying at least one-third of the post's total length in the ground, so be sure to treat the bottom portion of each post with a wood preservative before burying.
Using a post hole digger, dig a straight hole to your desired depth, and line the bottom of the hole with gravel to help with drainage. Use a level to ensure the posts are straight and aligned. Brace the post with either cement, dirt or some other holding material, and allow each post to settle for two or three days before adding the rest of the fence.
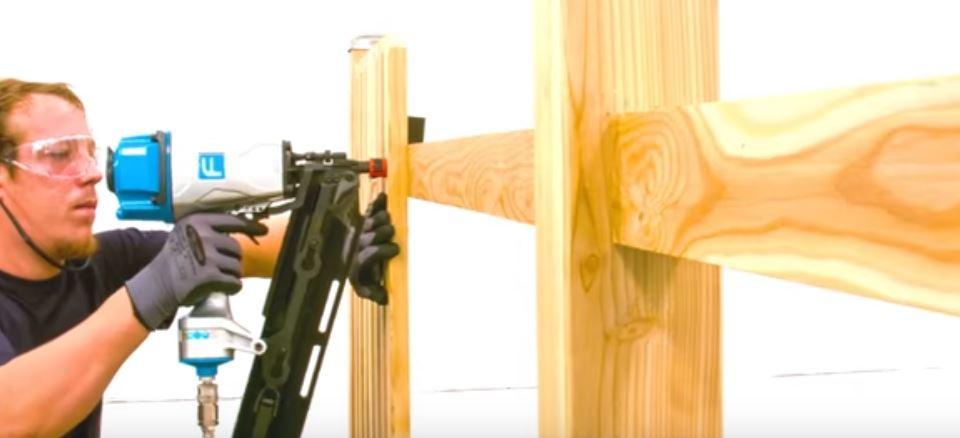
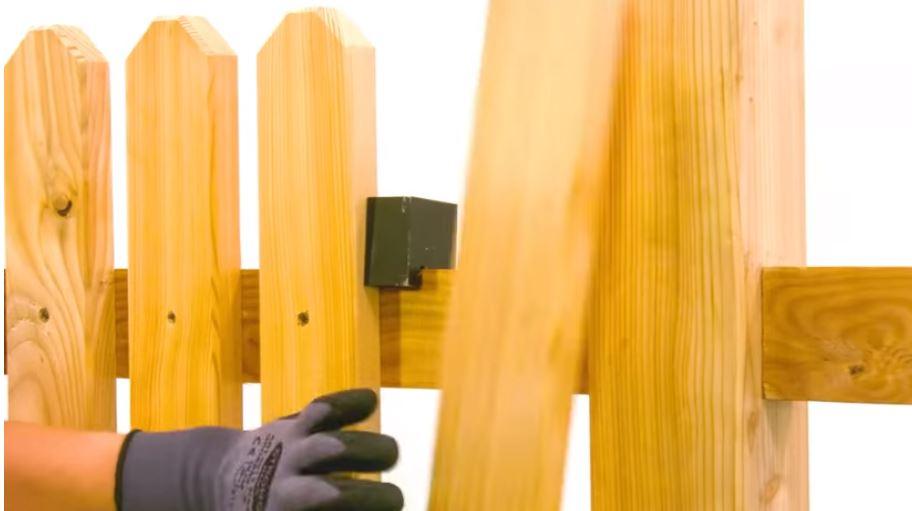
Step 3. After your posts have properly settled into the ground, you can begin adding rails. Your top and bottom rails will always go first, followed by any remaining rails - or a cross frame for certain privacy fences. Rails are added by simply nailing them to the posts (typically with a fencing nail gun), attaching with a bracket or block, or by cutting a groove for the rail. It's important to ensure the top and bottom rails are always attached the same distance apart on each post.
Step 4. After measuring and positioning the first section, cut a measuring stick that equals the distance between these rails. You can use this measuring stick on the rest of the fence to maintain the same measurement on each post. It's also recommended that the bottom rail be placed at least two inches from the ground to reduce the potential for moisture damage.

The positioning of any remaining rails ultimately depends on the design selected for your fence - basket weave, picket, vertical or horizontal placement typically covers most fence designs. After all the posts and rails are in place, treat the wood with paint, preservative or weatherproofing for a long-lasting finish.
Need some extra advice? Click here to access Fasco's "Five Important Tips For Building The Perfect Fence," or read more in their "Good Fences Make Good Neighbors, But What Makes A Good Fence?" blog article.
~ The Nail Gun Depot Team


